WUTA LEATHER
Manual Leather Die Cutting Machine (Size S) | WUTA
Manual Leather Die Cutting Machine (Size S) | WUTA
В наличии: 17
Не удалось загрузить сведения о доступности самовывоза

Product Description

WUTA Professional Manual Leather Cutting Machine
● Material: #45 carbon steel
● Pressure: 1 ton.-1.5 ton. (2200 lb-3300 lb)
● Thickness of Platens: 15mm (0.59")
● Best Work: Less than 7 mm (0.28")
● Max. Cutting (THK): 10-15 mm (0.39"-0.59")
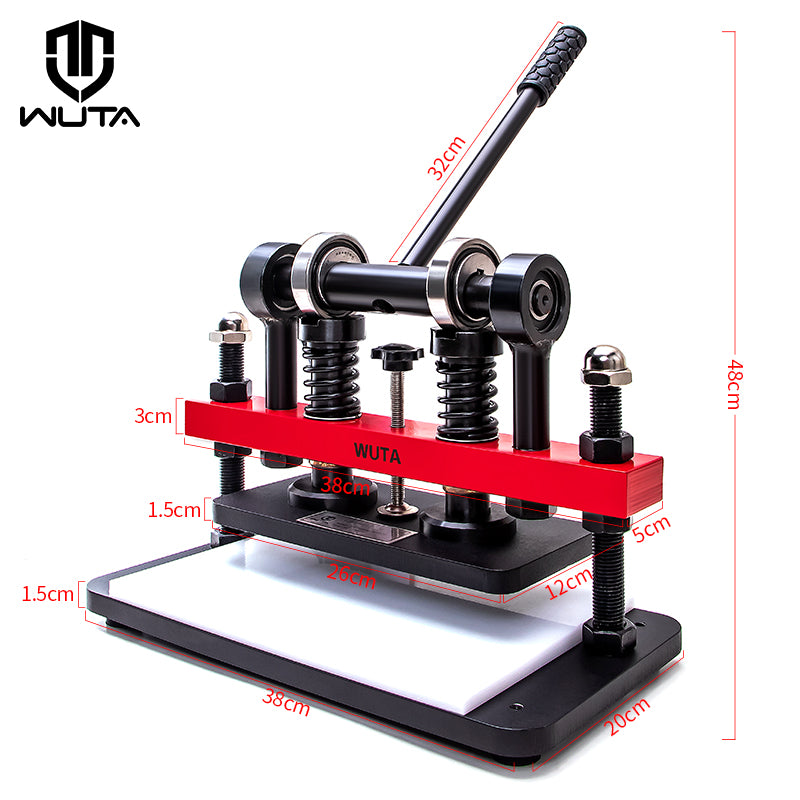
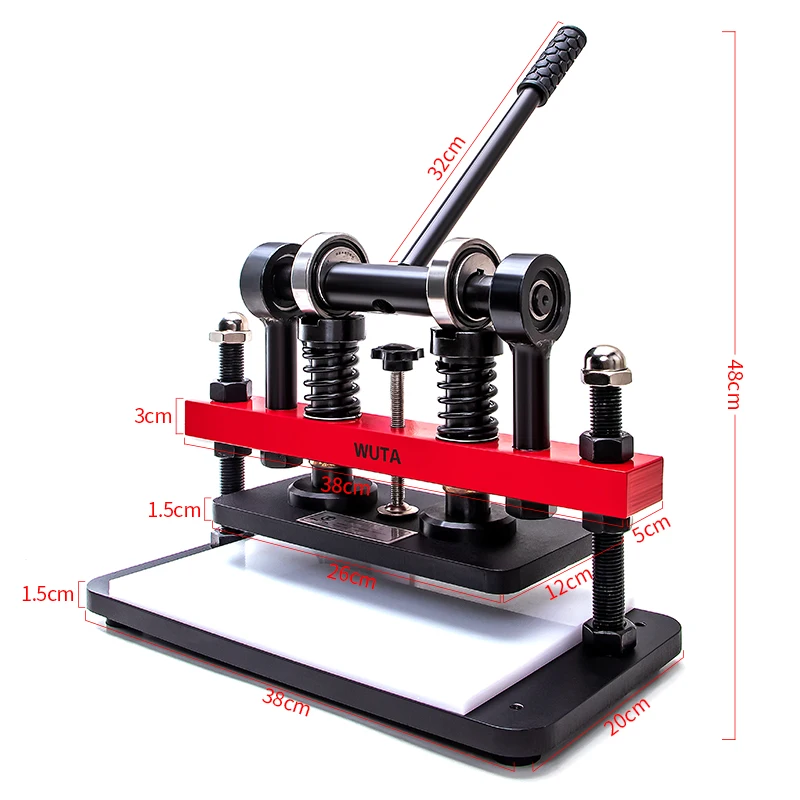
● Small Size Upper Platen : 260mmx160mm (10.23"x6.29").
● Small Size Gross Weight:28 kg (61.8 lb)
Note: Because the machine is very heavy, we will pack it with wood box, and as the freight cost changes greatly, customers who are interested in this machine and have questions about the freight, please consult us about the actual freight and total price. We will try our best to send out by the most suitable and affordable transportation method. Please feel free to contact us. Thanks!
Features
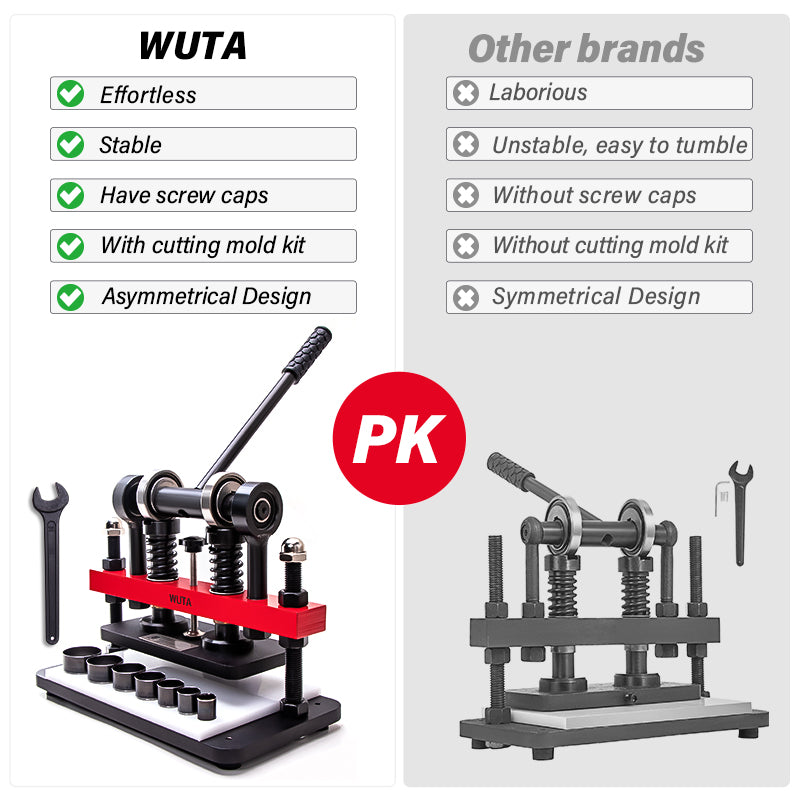
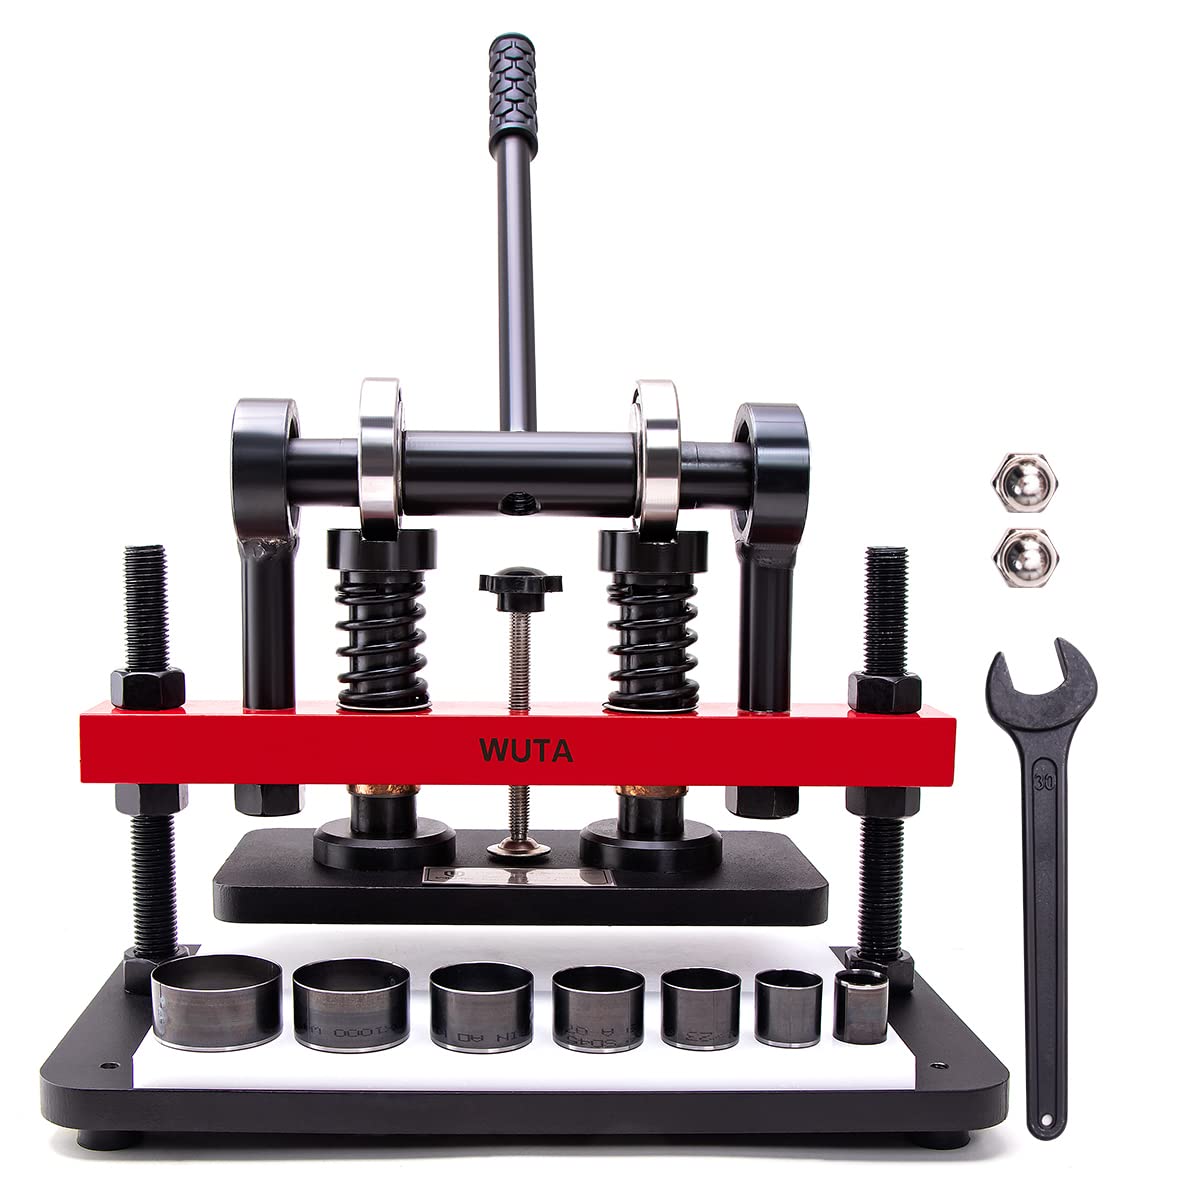
● Double Guiding Shaft Design: Double Axis Guide shaft chrome-plated quenched High pressure, High hardness, High precision, High Wear-resistant. Besides, double guide wheels and long compression rods can increase the pressure, allowing you easily finish the die-cutting process.
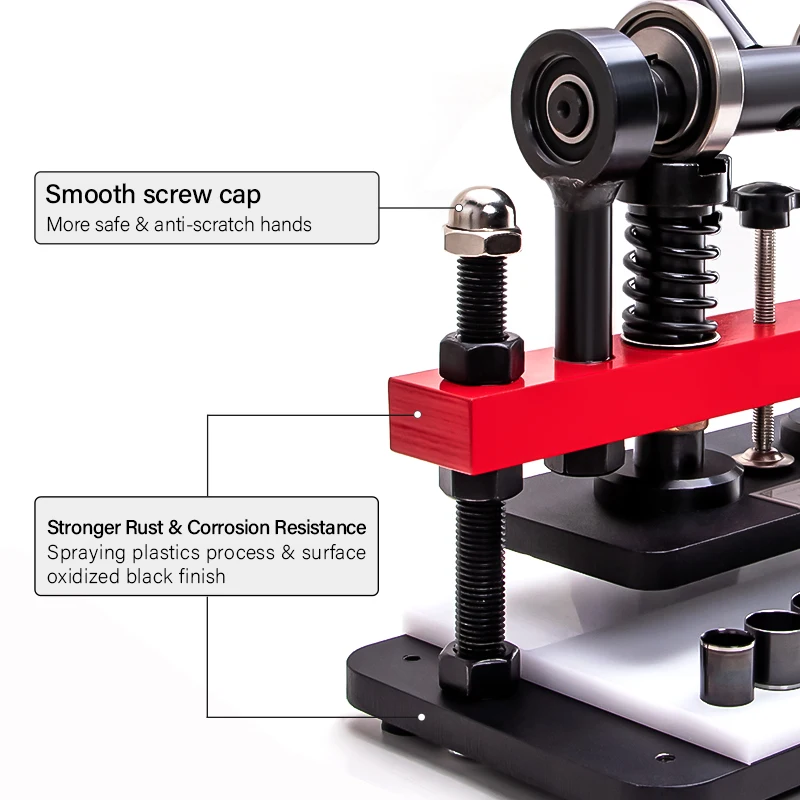
● Solid Construction: Made of selected high-quality steel, black anodized, the red part with spraying plastics process, stronger Rust & corrosion Resistance. Advanced needle bearing can withstand pressure loads of 1 ton or 1.5 tons. The applicable pressure range is 260mmx120mm/10.2inchx4.7inch.
● New Upgrade Design: The upgraded die-cutting machine's large bottom plate has a smoother contact surface and a strong load capacity. With smooth screw caps to reduce scratches in use. Comes with a high-density PVC board and a cutting mold, allowing you to save money and save time.
● Excellent Stability: The guide shaft is integrated with the silicon manganese steel spring wire to provide more stable applications. The upgraded asymmetric bottom plate ensures strong stability.
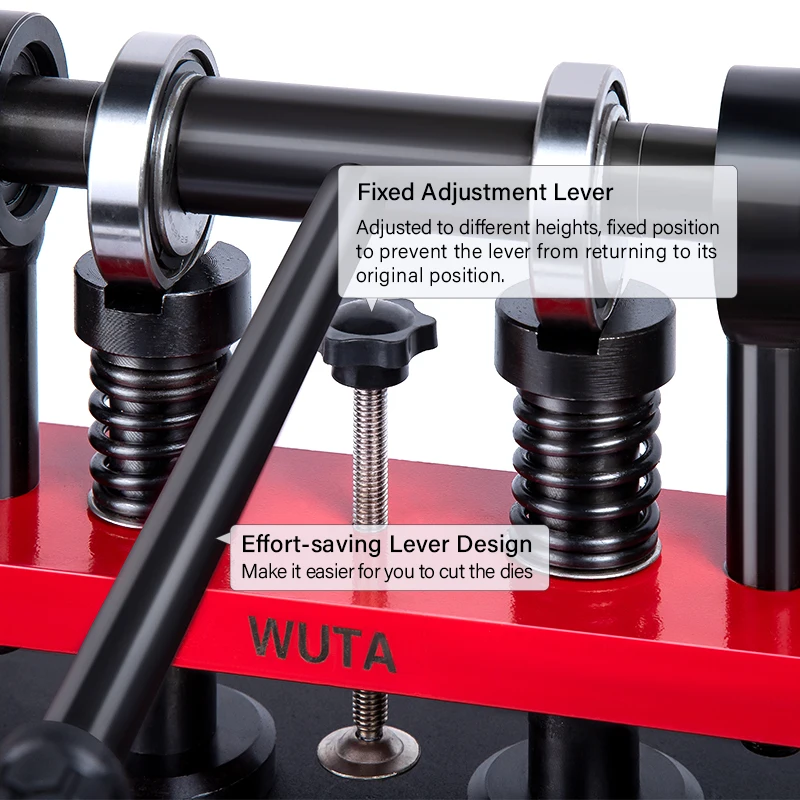
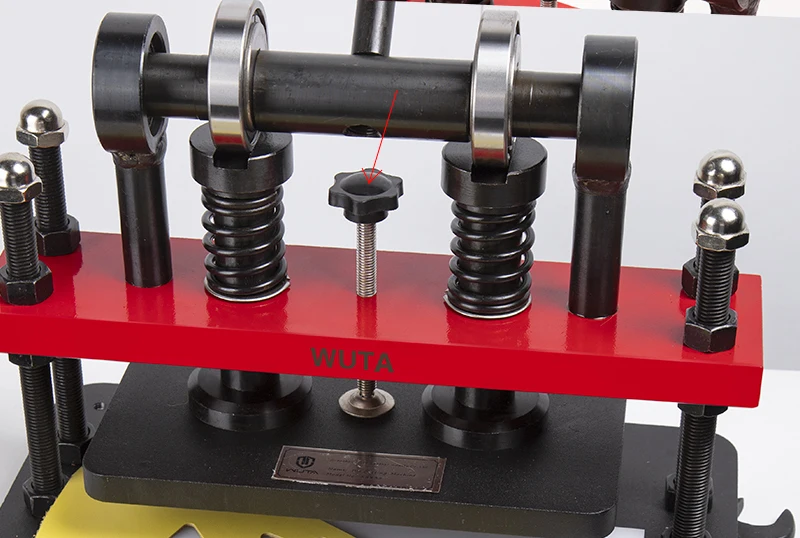
● Multi-function Fixed Adjustment Lever: the machine not only cuts leather, but also shapes the leather. The fixed adjusting lever, whose main function is adjust to different heights and fixed positions to prevent the control lever from returning to its original position, so that the machine can press for a long time to shape the leather, to get different shapes of leather.
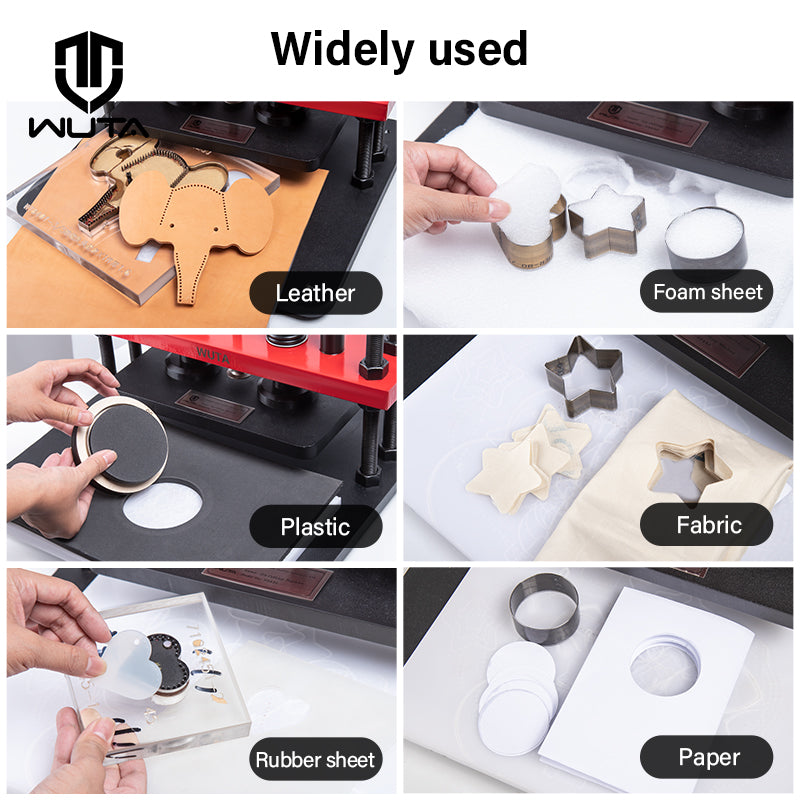
● Widely Used: The die-cut embossing machine is suitable for cutting various materials, such as leather, fabric, cloth, stickers, plastic, rubber sheet, film, paper, etc. During operation, pay attention that the knife-edge of the die-cutting should face upward.
About Size
|
|
|
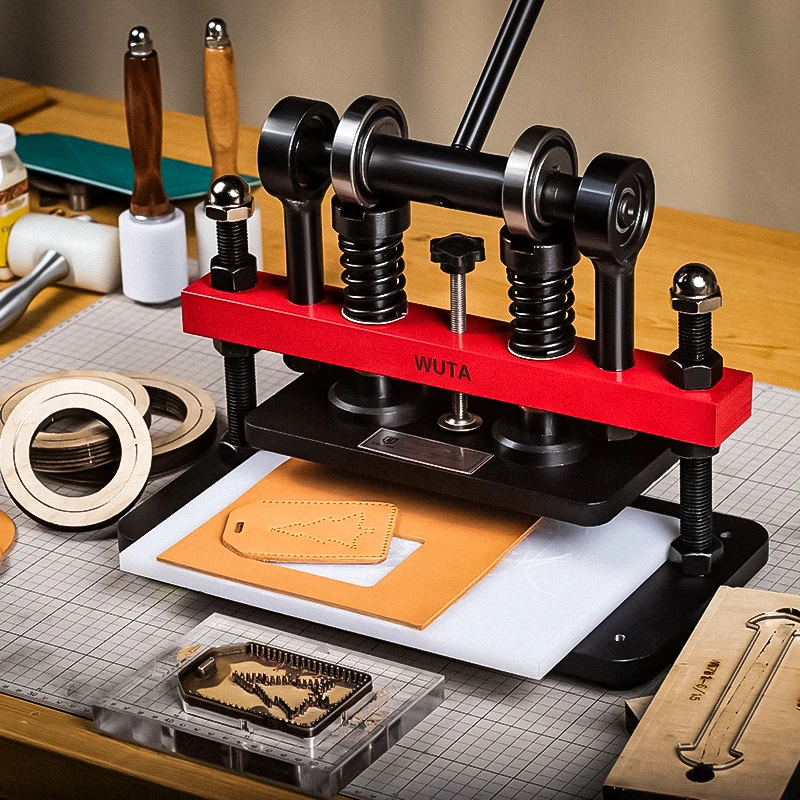
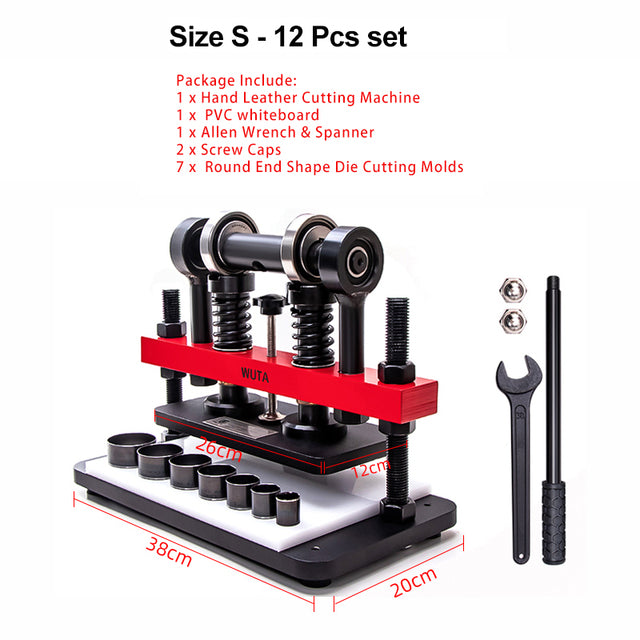
Size S (total 12 Pcs) 1 x Hand Leather Cutting Machine 1 x PVC whiteboard 2 x Screw Caps 1 x Allen Wrench & Spanner 7 x Round End Shape Die Cutting Molds |
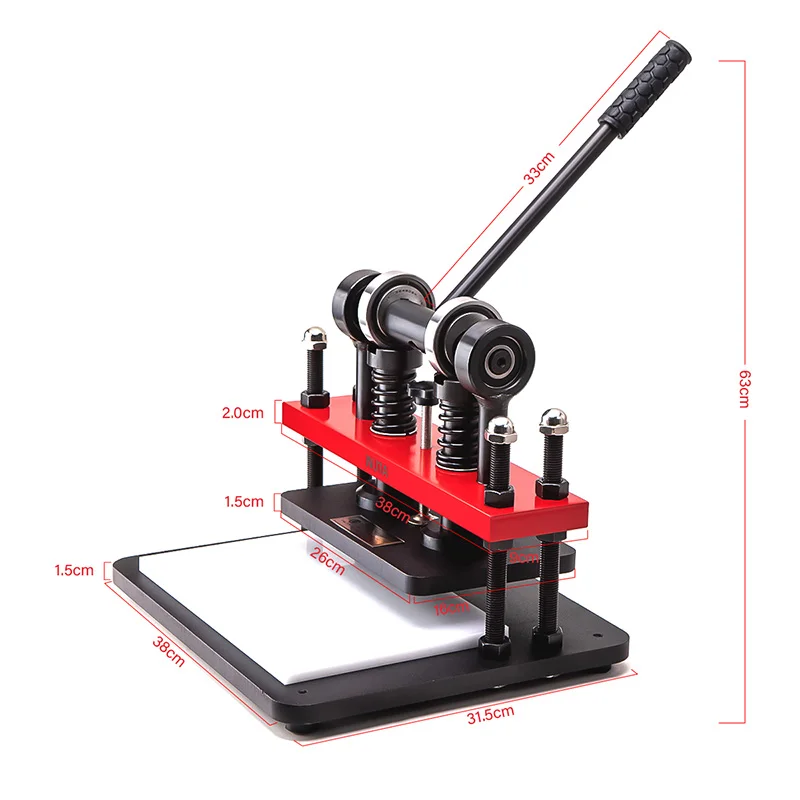
Size L(total 34 Pcs) 1 x Hand Leather Cutting Machine 1 x PVC whiteboard 4 x Screw Caps 1 x Allen Wrench & Spanner 7 x Round End Shape Die Cutting Molds 10 x Round End Shape Die Cutting Molds 10 x Corner End Shape Die Cutting Molds |
Detail Feature
|
|
|
|
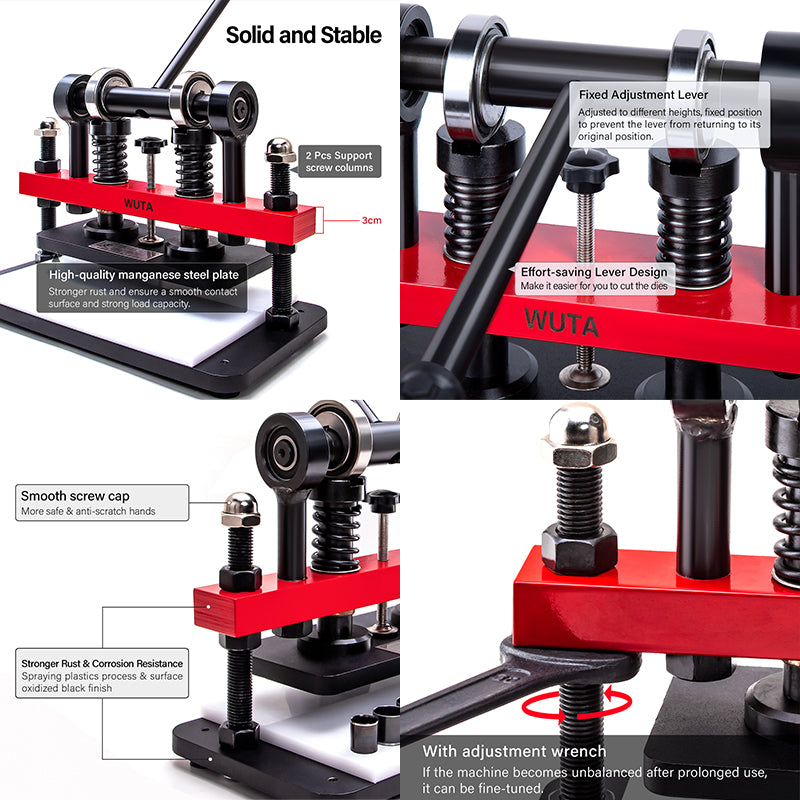
Solid & Stable High-quality manganese steel plate Stronger rust and ensure a smooth contact surface and strong load capacity. |
Effort-saving Lever Design Make it easier for you to cut the dies. Even a girl can finish the cutting easily. |
|
|
|
|
Durable Bearing Structure Equipped with integrated forged needle roller bearings, the whole machine can withstand a pressure of 1 ton or 1.5 tons. 4.5mm silicon manganese steel spring wire (Service life: 550000 times) |
Stronger Rust & Corrosion Resistance Spraying plastics process & surface oxidized black finish Smooth screw cap, More safe & anti-scratch hands |
Application-Widely Used
The die-cut embossing machine is suitable for cutting a wide range of materials, including leather, fabric, cloth, stickers, plastic, rubber sheets, film, and paper.

1. How To Use It-- Cut leather
|
|
|
|
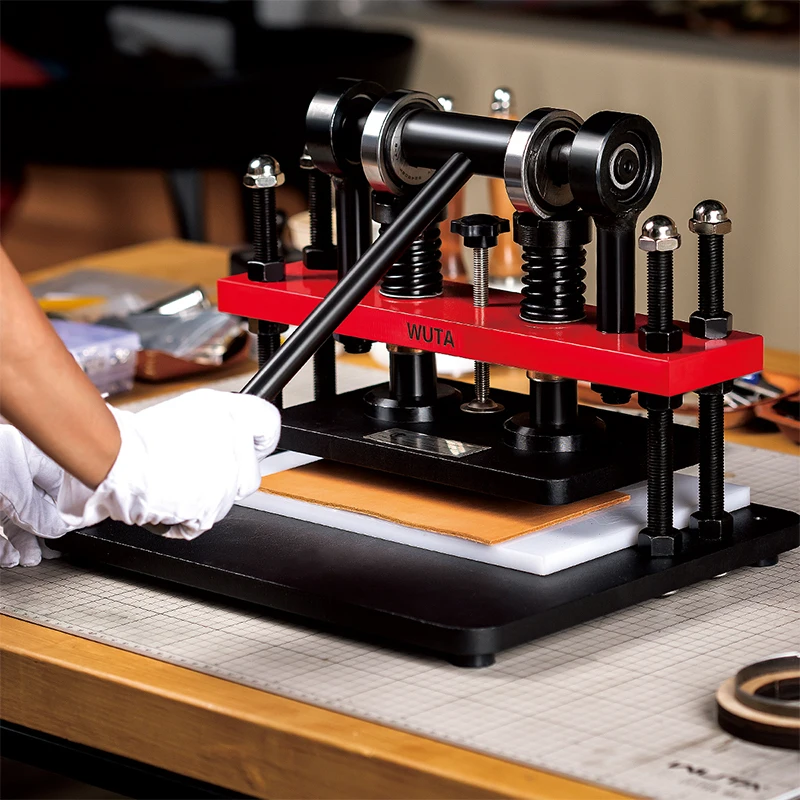
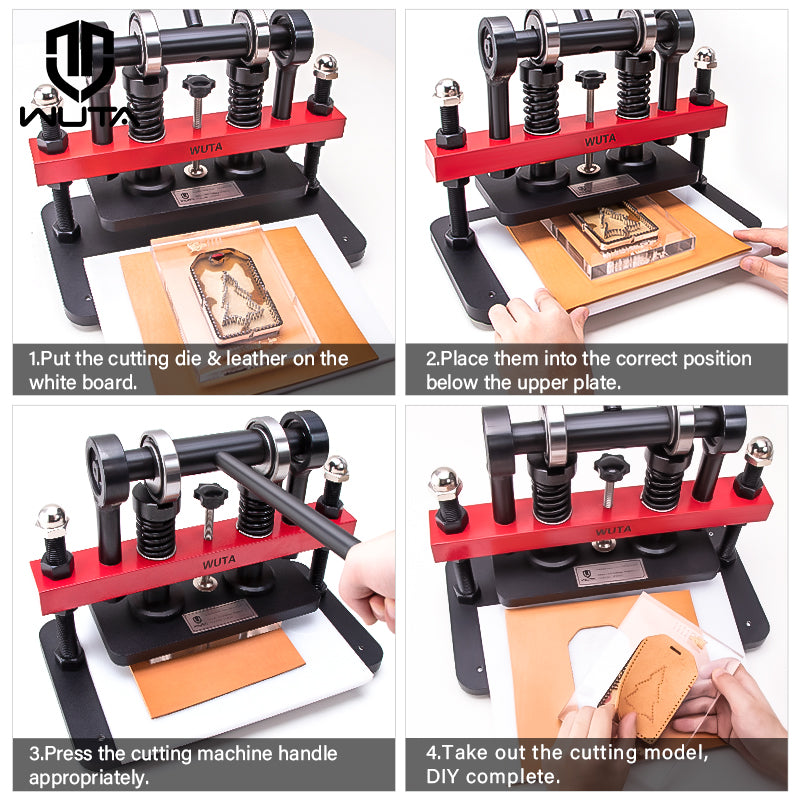
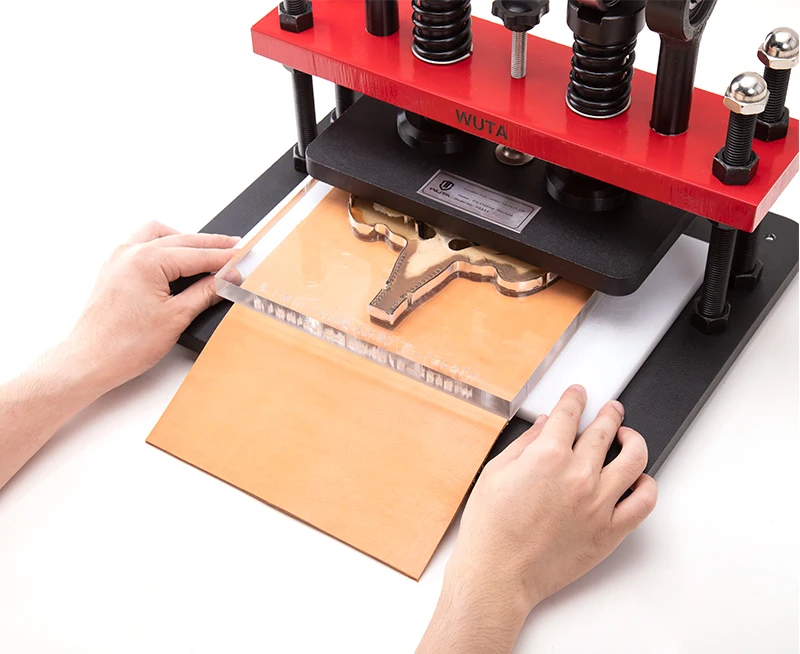
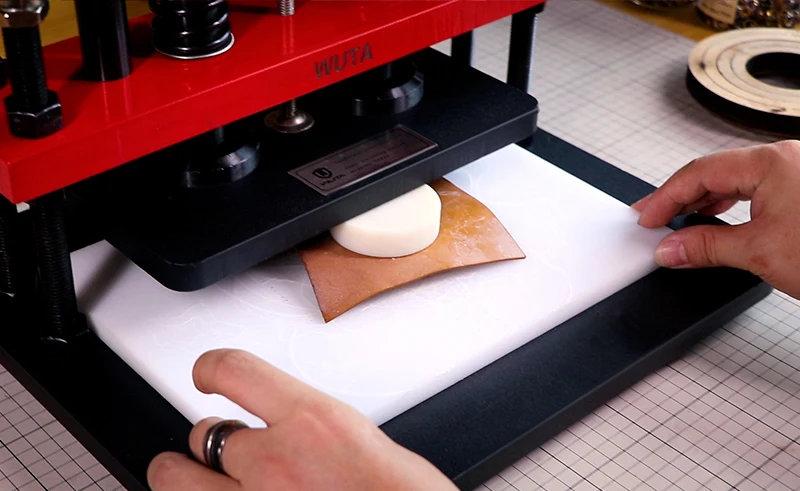
1. Put the cutting die & leather on the white board. |
2. Place them into the correct position below the upper plate. |
|
|
|
|
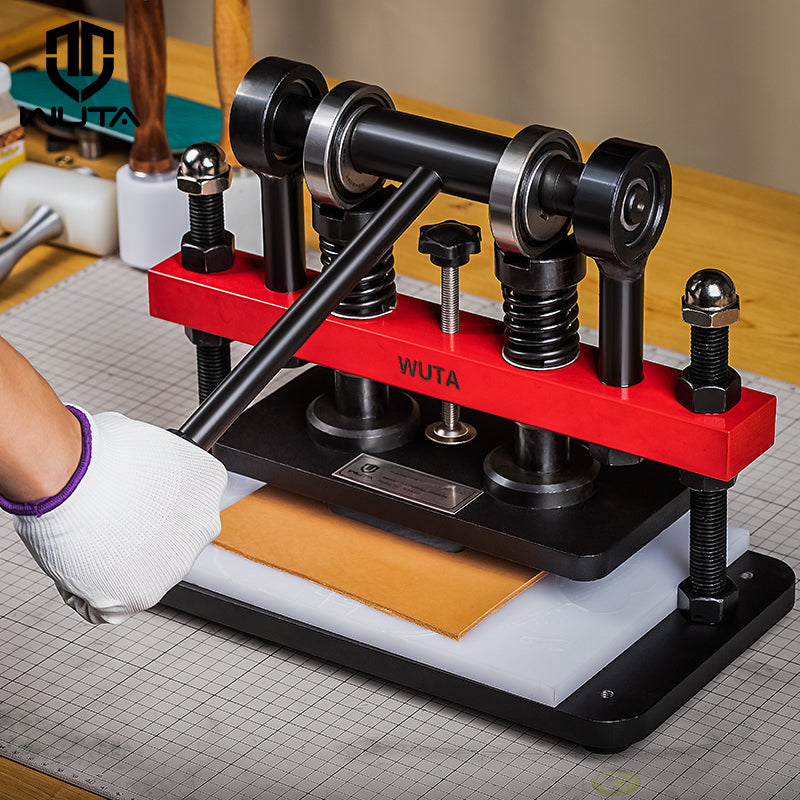
3. Press the cutting machine handle appropriately. |
4. Take out the cutting model, DIY complete. |
|
|
|
|
1. Loosen the fixed adjustment lever |
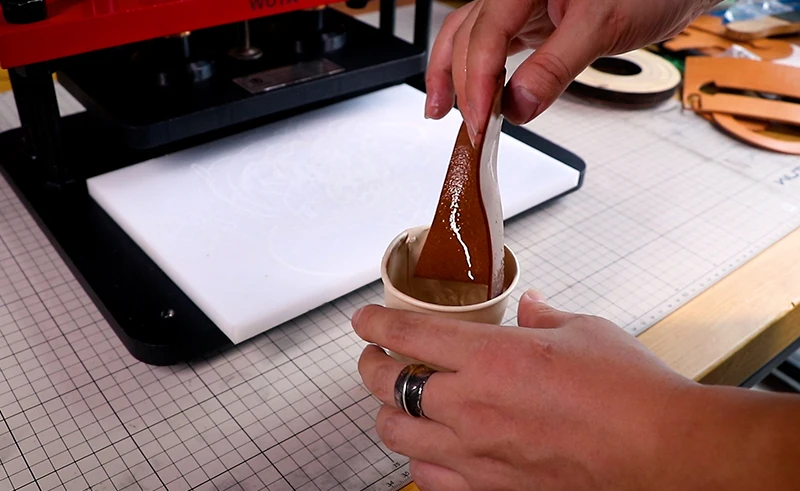
2. Soak the leather for a while |
|
|
|
|
3. Press with the prepared cutting mold. |
4. Push into the proper place |
|
|
|
|
5. After pressing the handle to the bottom, rotate the fixing screw to fix it. |
6. Let it press automatically for about 10 hours, loosen the fixing screw & take out the mold. |


